


pdf Installation Instructions (PDF) (1.71 MB)
Tools & Accessories
 |
 |
 |
 |
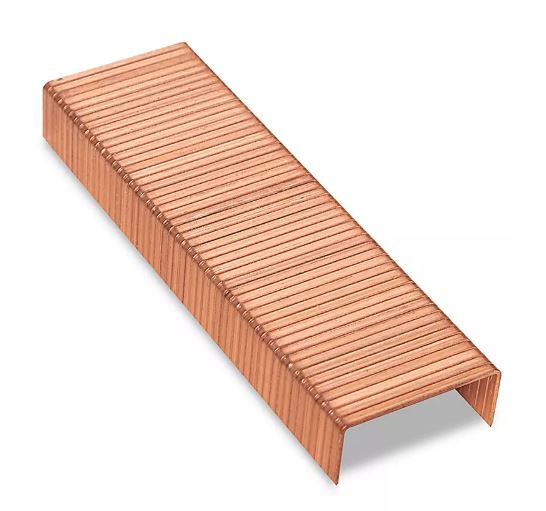
| Staple Gun | Corrosion-resistant staples |
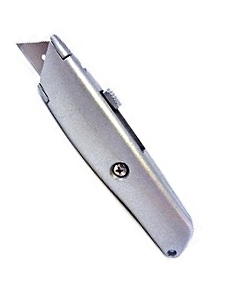
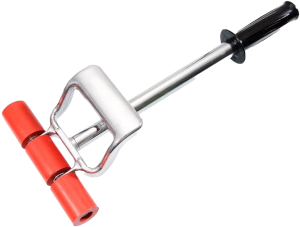
Box Knife | VaproRoller Part No. 60855190 |
 |
 |
 |
|
|
VaproShield |
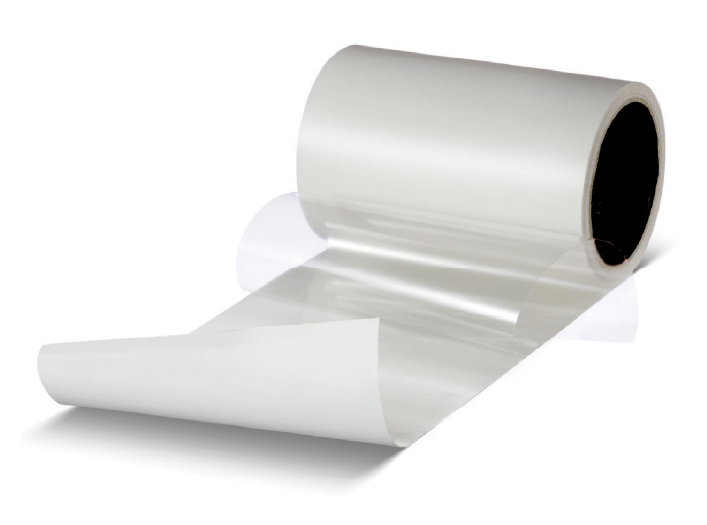
VaproFlashing™ SA or approved single-sided sheathing tape |
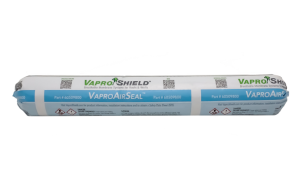
VaproAirSeal™ |
Compatible Assemblies
 |
 |
|
Wood Stud Framing |
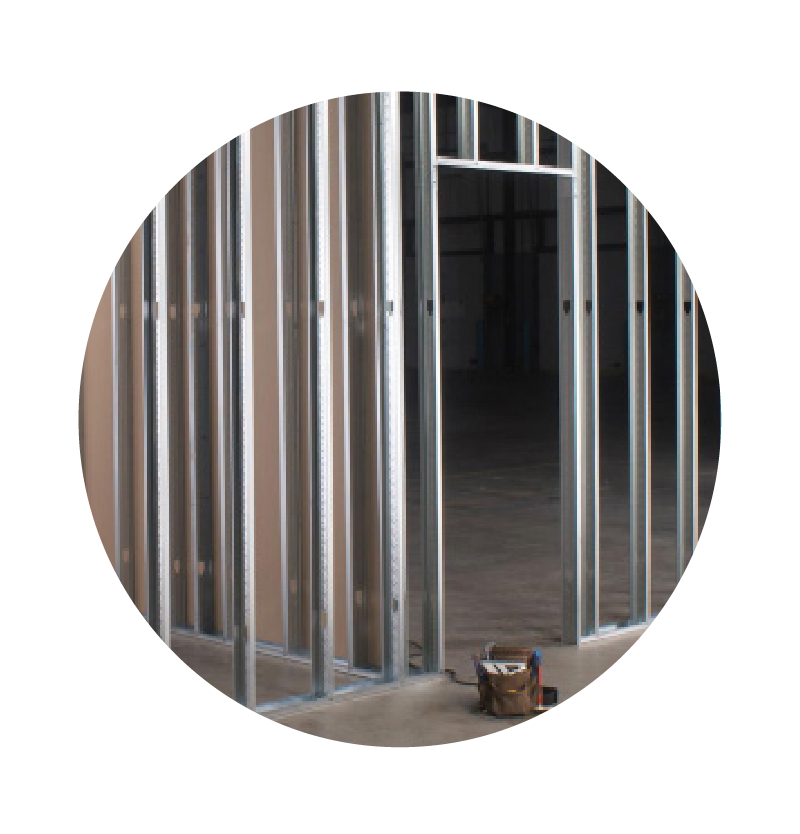
Metal Stud Framing |
Delivery, Packaging And Storage
Store roll materials in original packaging at temperatures between 40°F and 120°F (4ºC - 49ºC). Protect materials from direct sunlight and inclement weather until ready for use.
Climate and UV Exposure
- Up to 12 months UV and climate exposure prior to cladding installation.
- Acceptable for open joint cladding installations.
Substrate Preparation
- Ensure framing is clear of nails, splinters and all unnecessary protrusions that could damage the membrane.
- Check that framing and substrates are structurally sound and capable of supporting the air barrier system.
Safety
- Read the full label and SDS for precautionary instructions before use. Use proper safety equipment and jobsite controls during application and handling.
- Work crews are safe around VaproShield membranes.
- VaproSmart ICL contains zero VOCs or toxins.
| Do's | Don'ts |
|
|
Best Practice Installation
Note: Before beginning, make sure all sheathing materials are clean, free of dust, frost, overnight dew and trimmed flush with framing members at rough openings and that all materials, sausage gun, and putty knife are on site. Evaluate substrate for any inefficiencies and cracks.
 |
 |
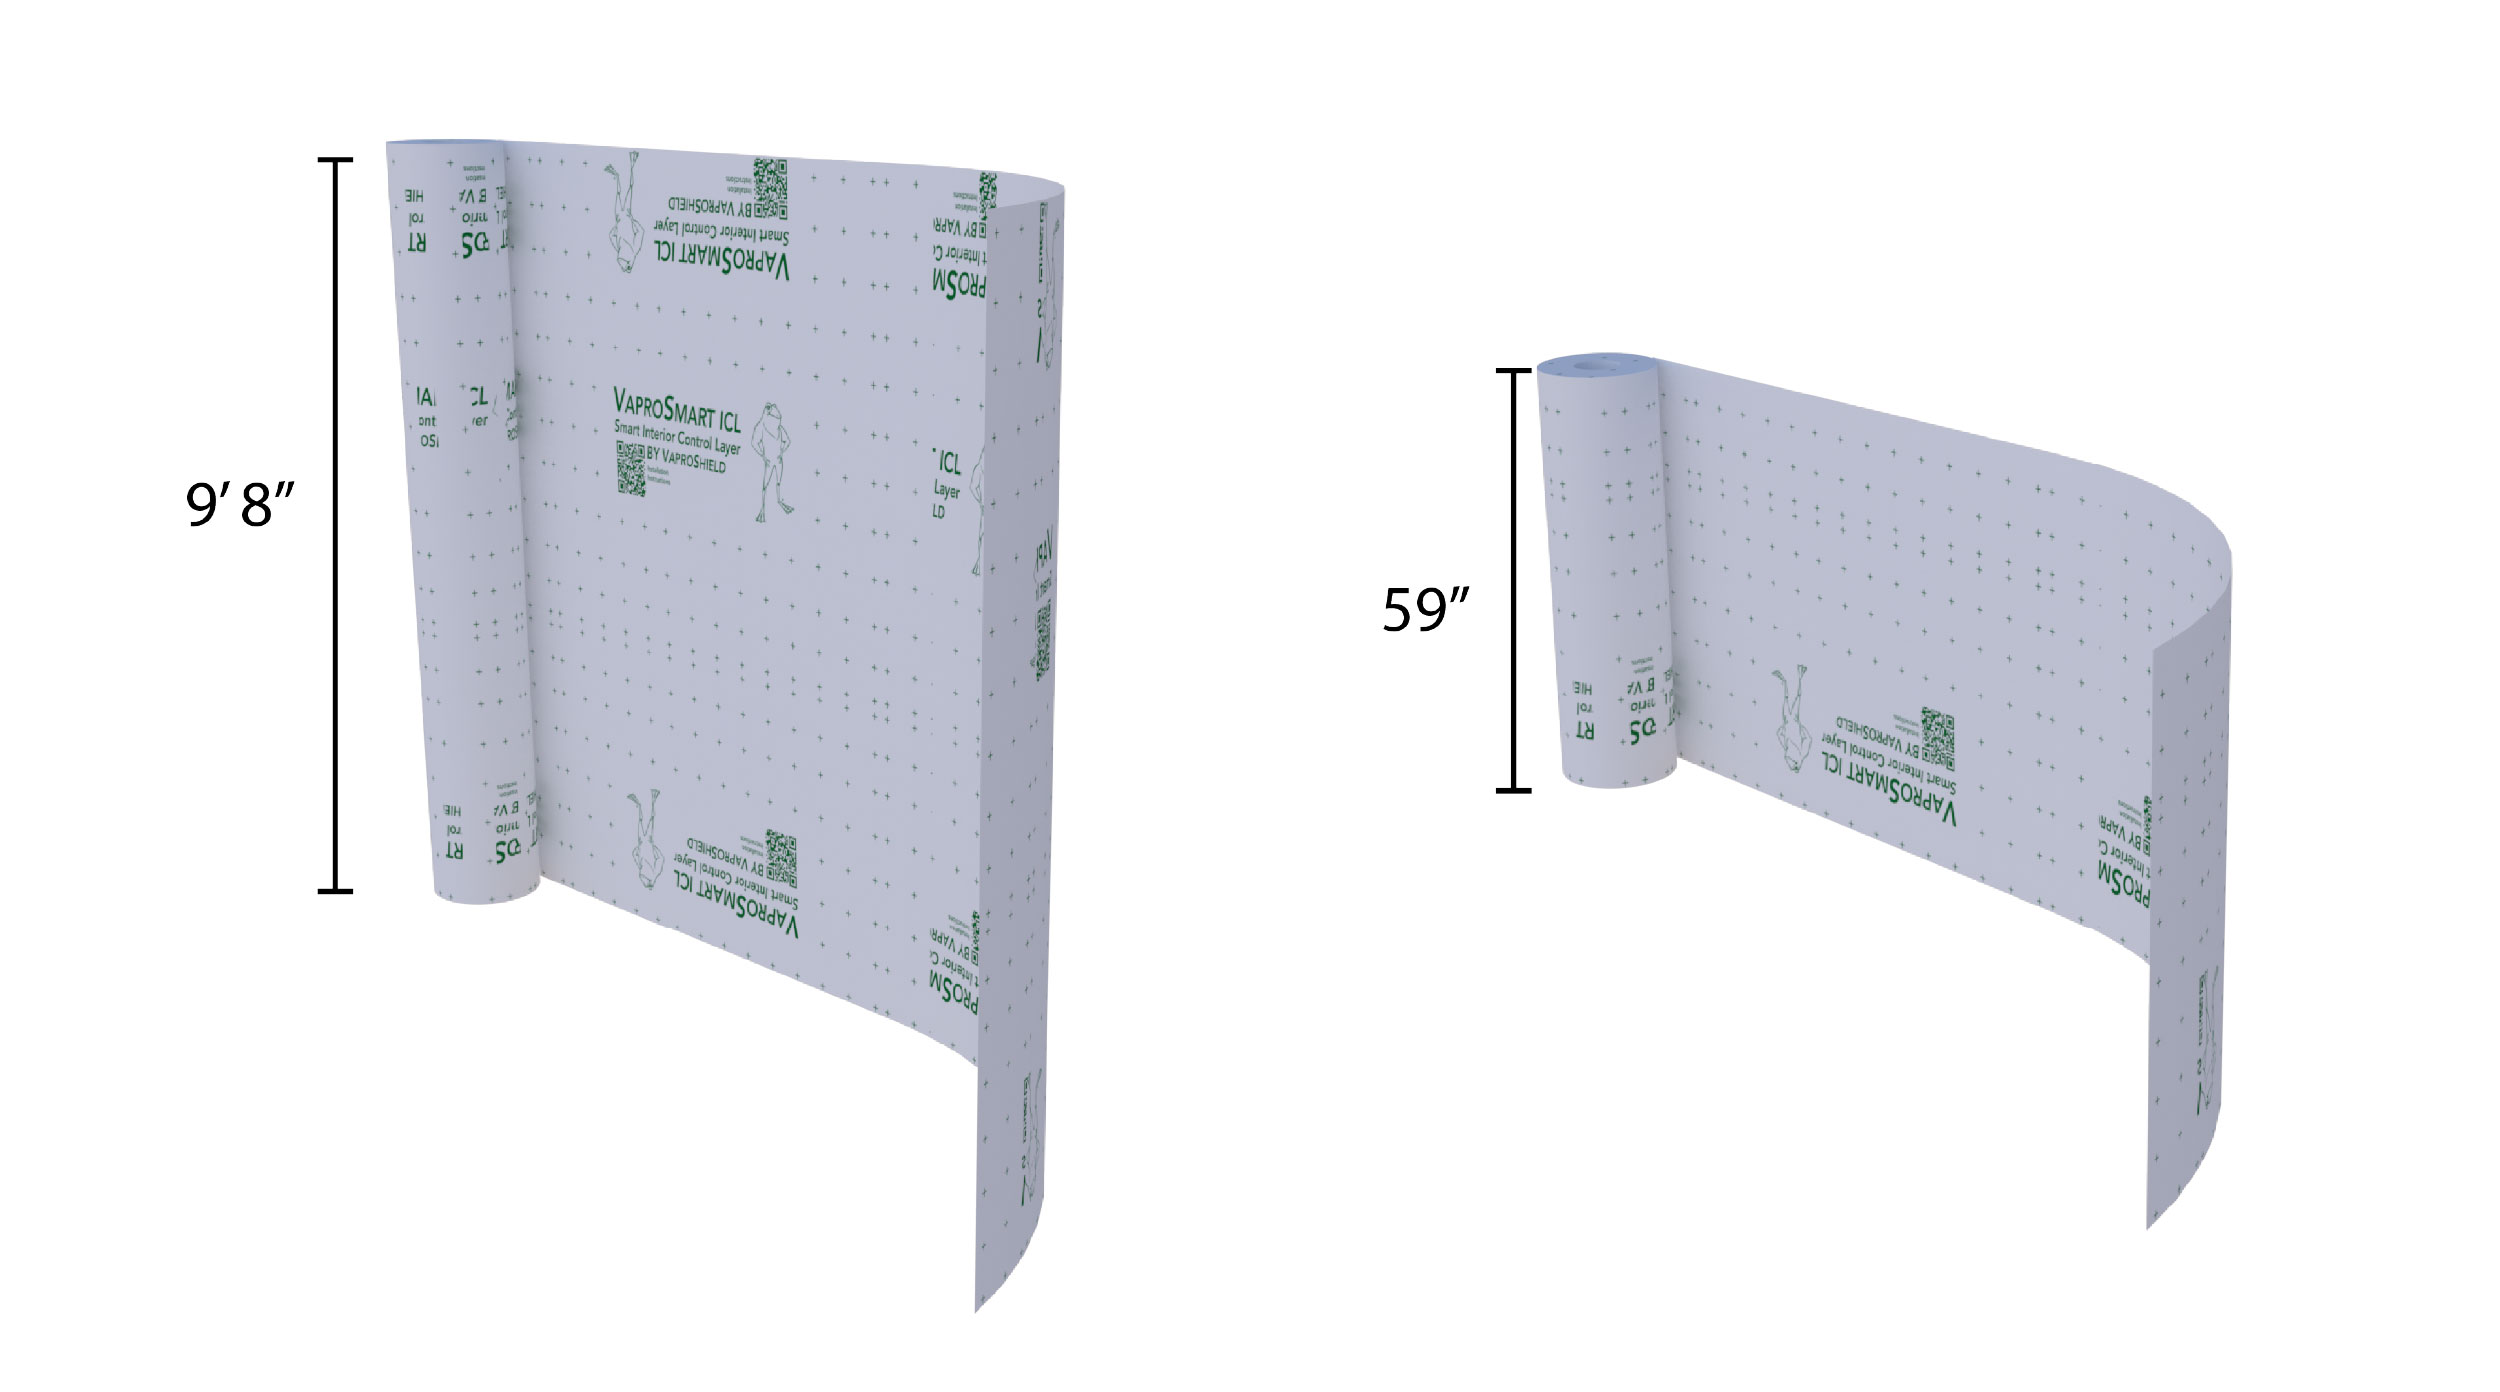
| Step 1: Identify Roll Size Confirm roll size: 9’8” or 59” (2.95 m or 1.5 m). |
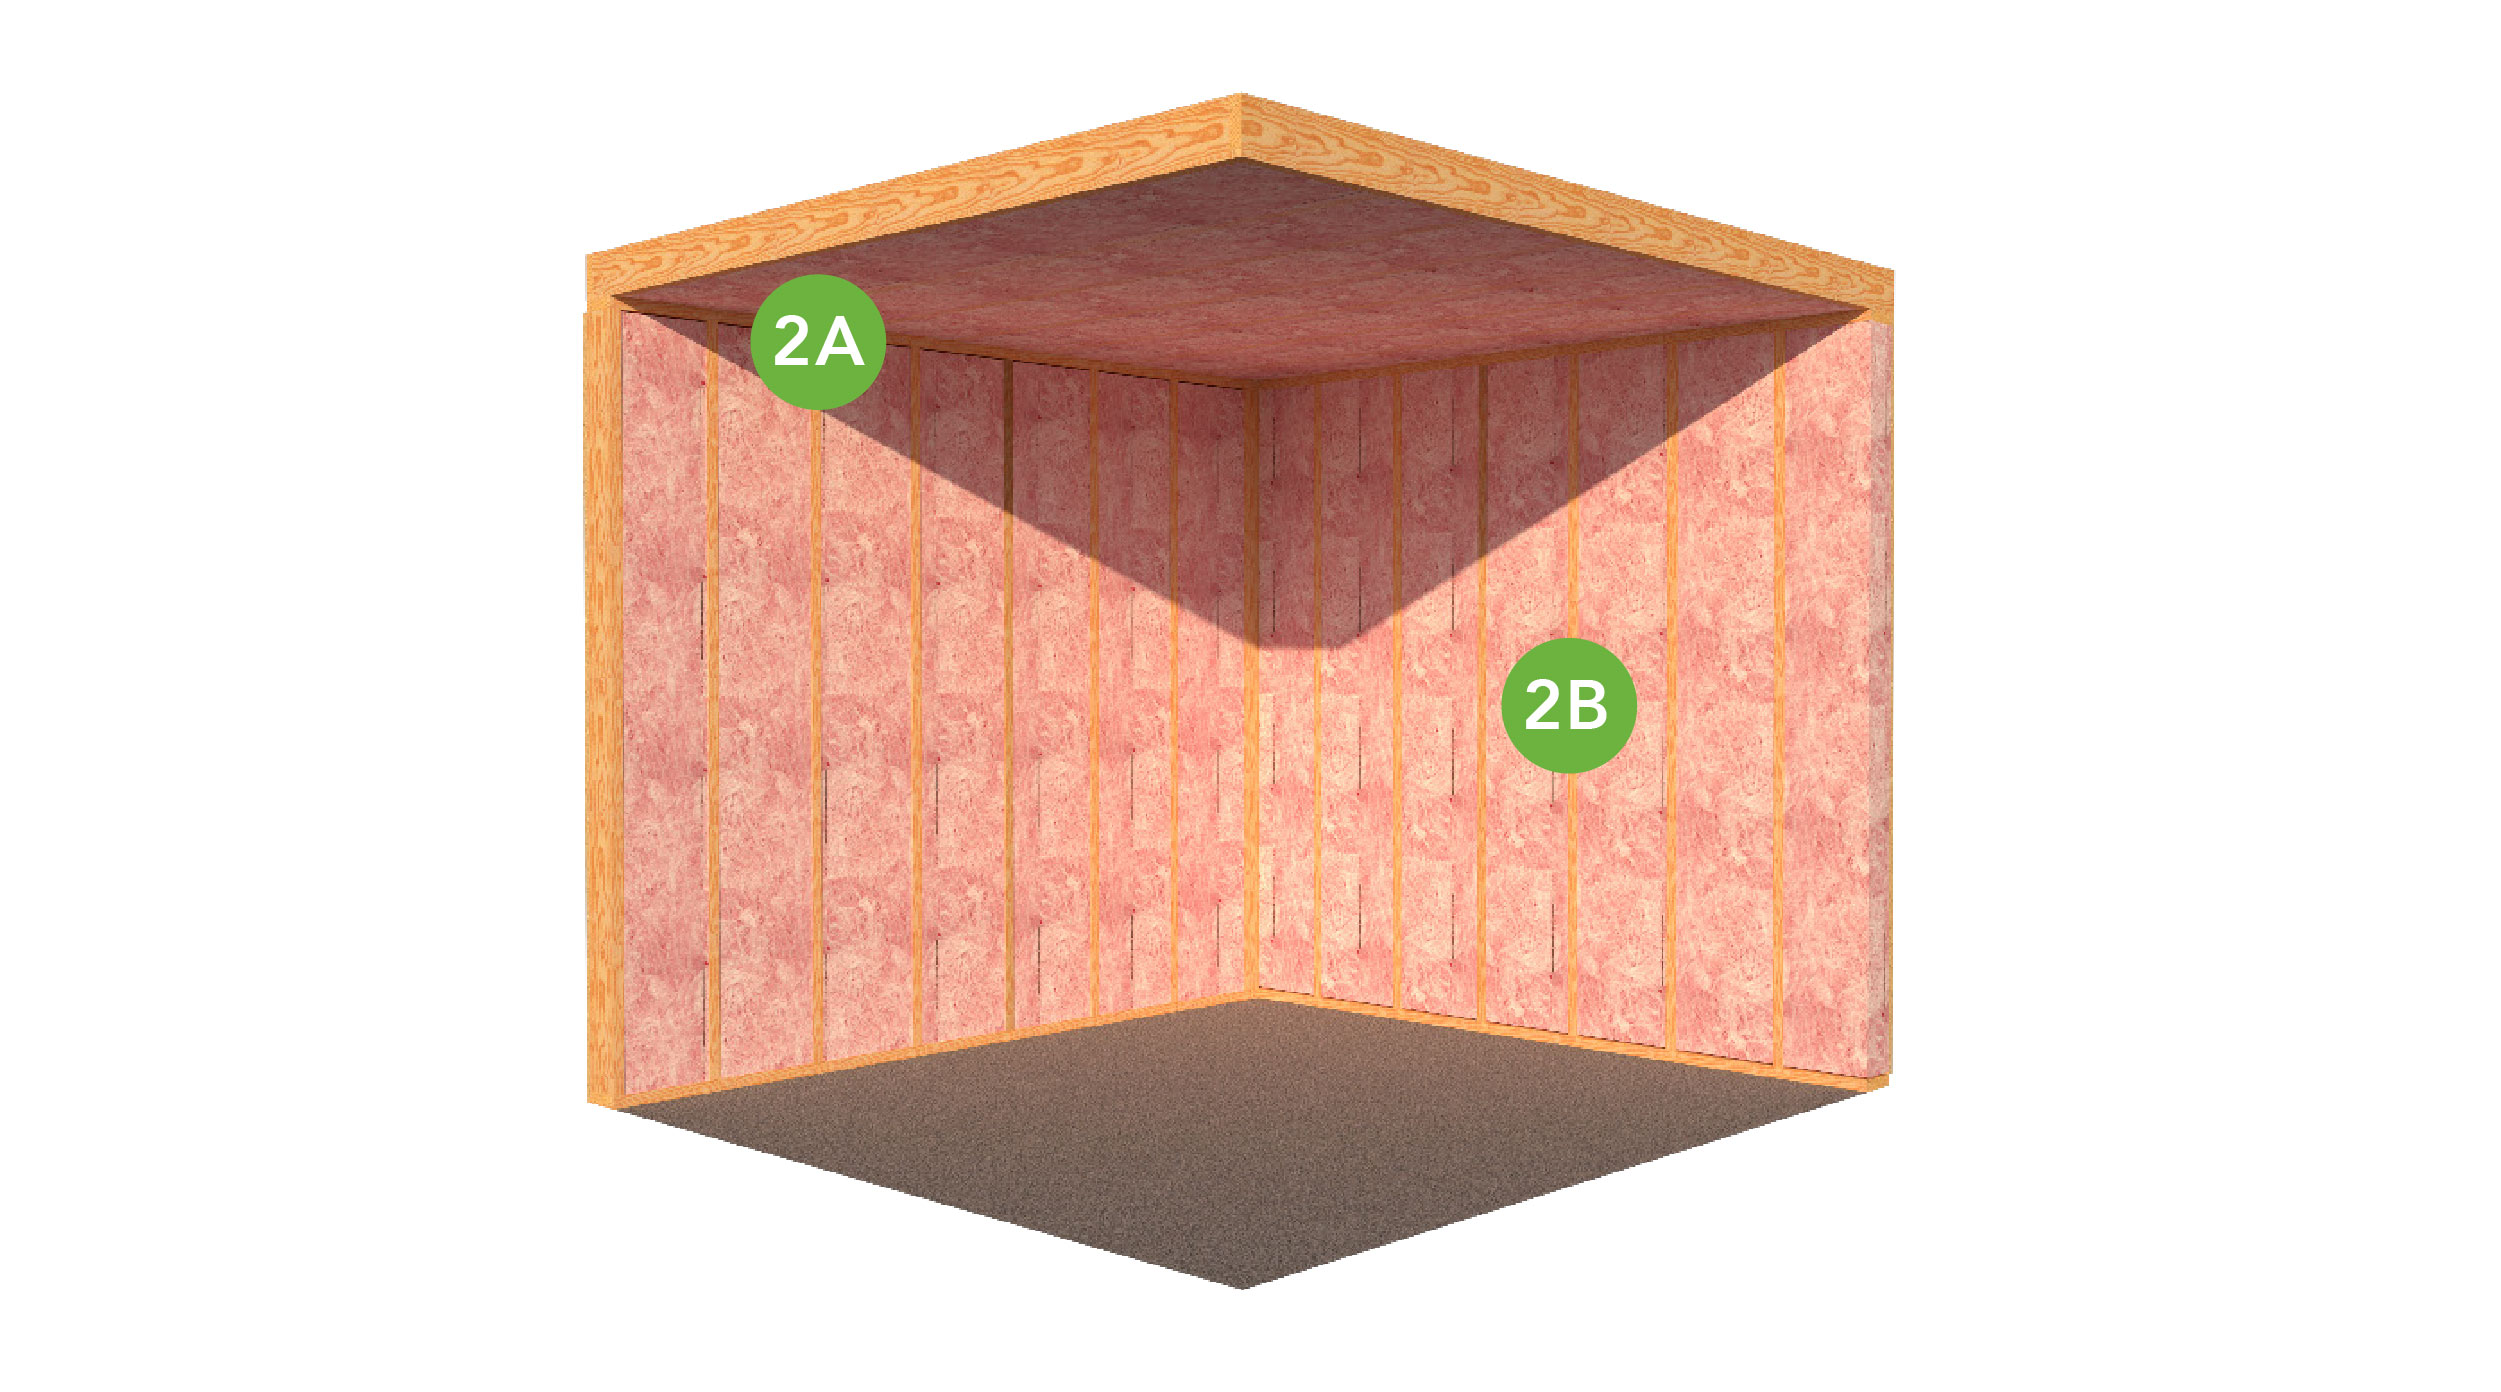
Step 2: Workspace Preparation 2B. Remove nails, splinters, protrusions, dust, grease, and debris. Verify the workspace is clean and all required installation tools are available. |
 |
|
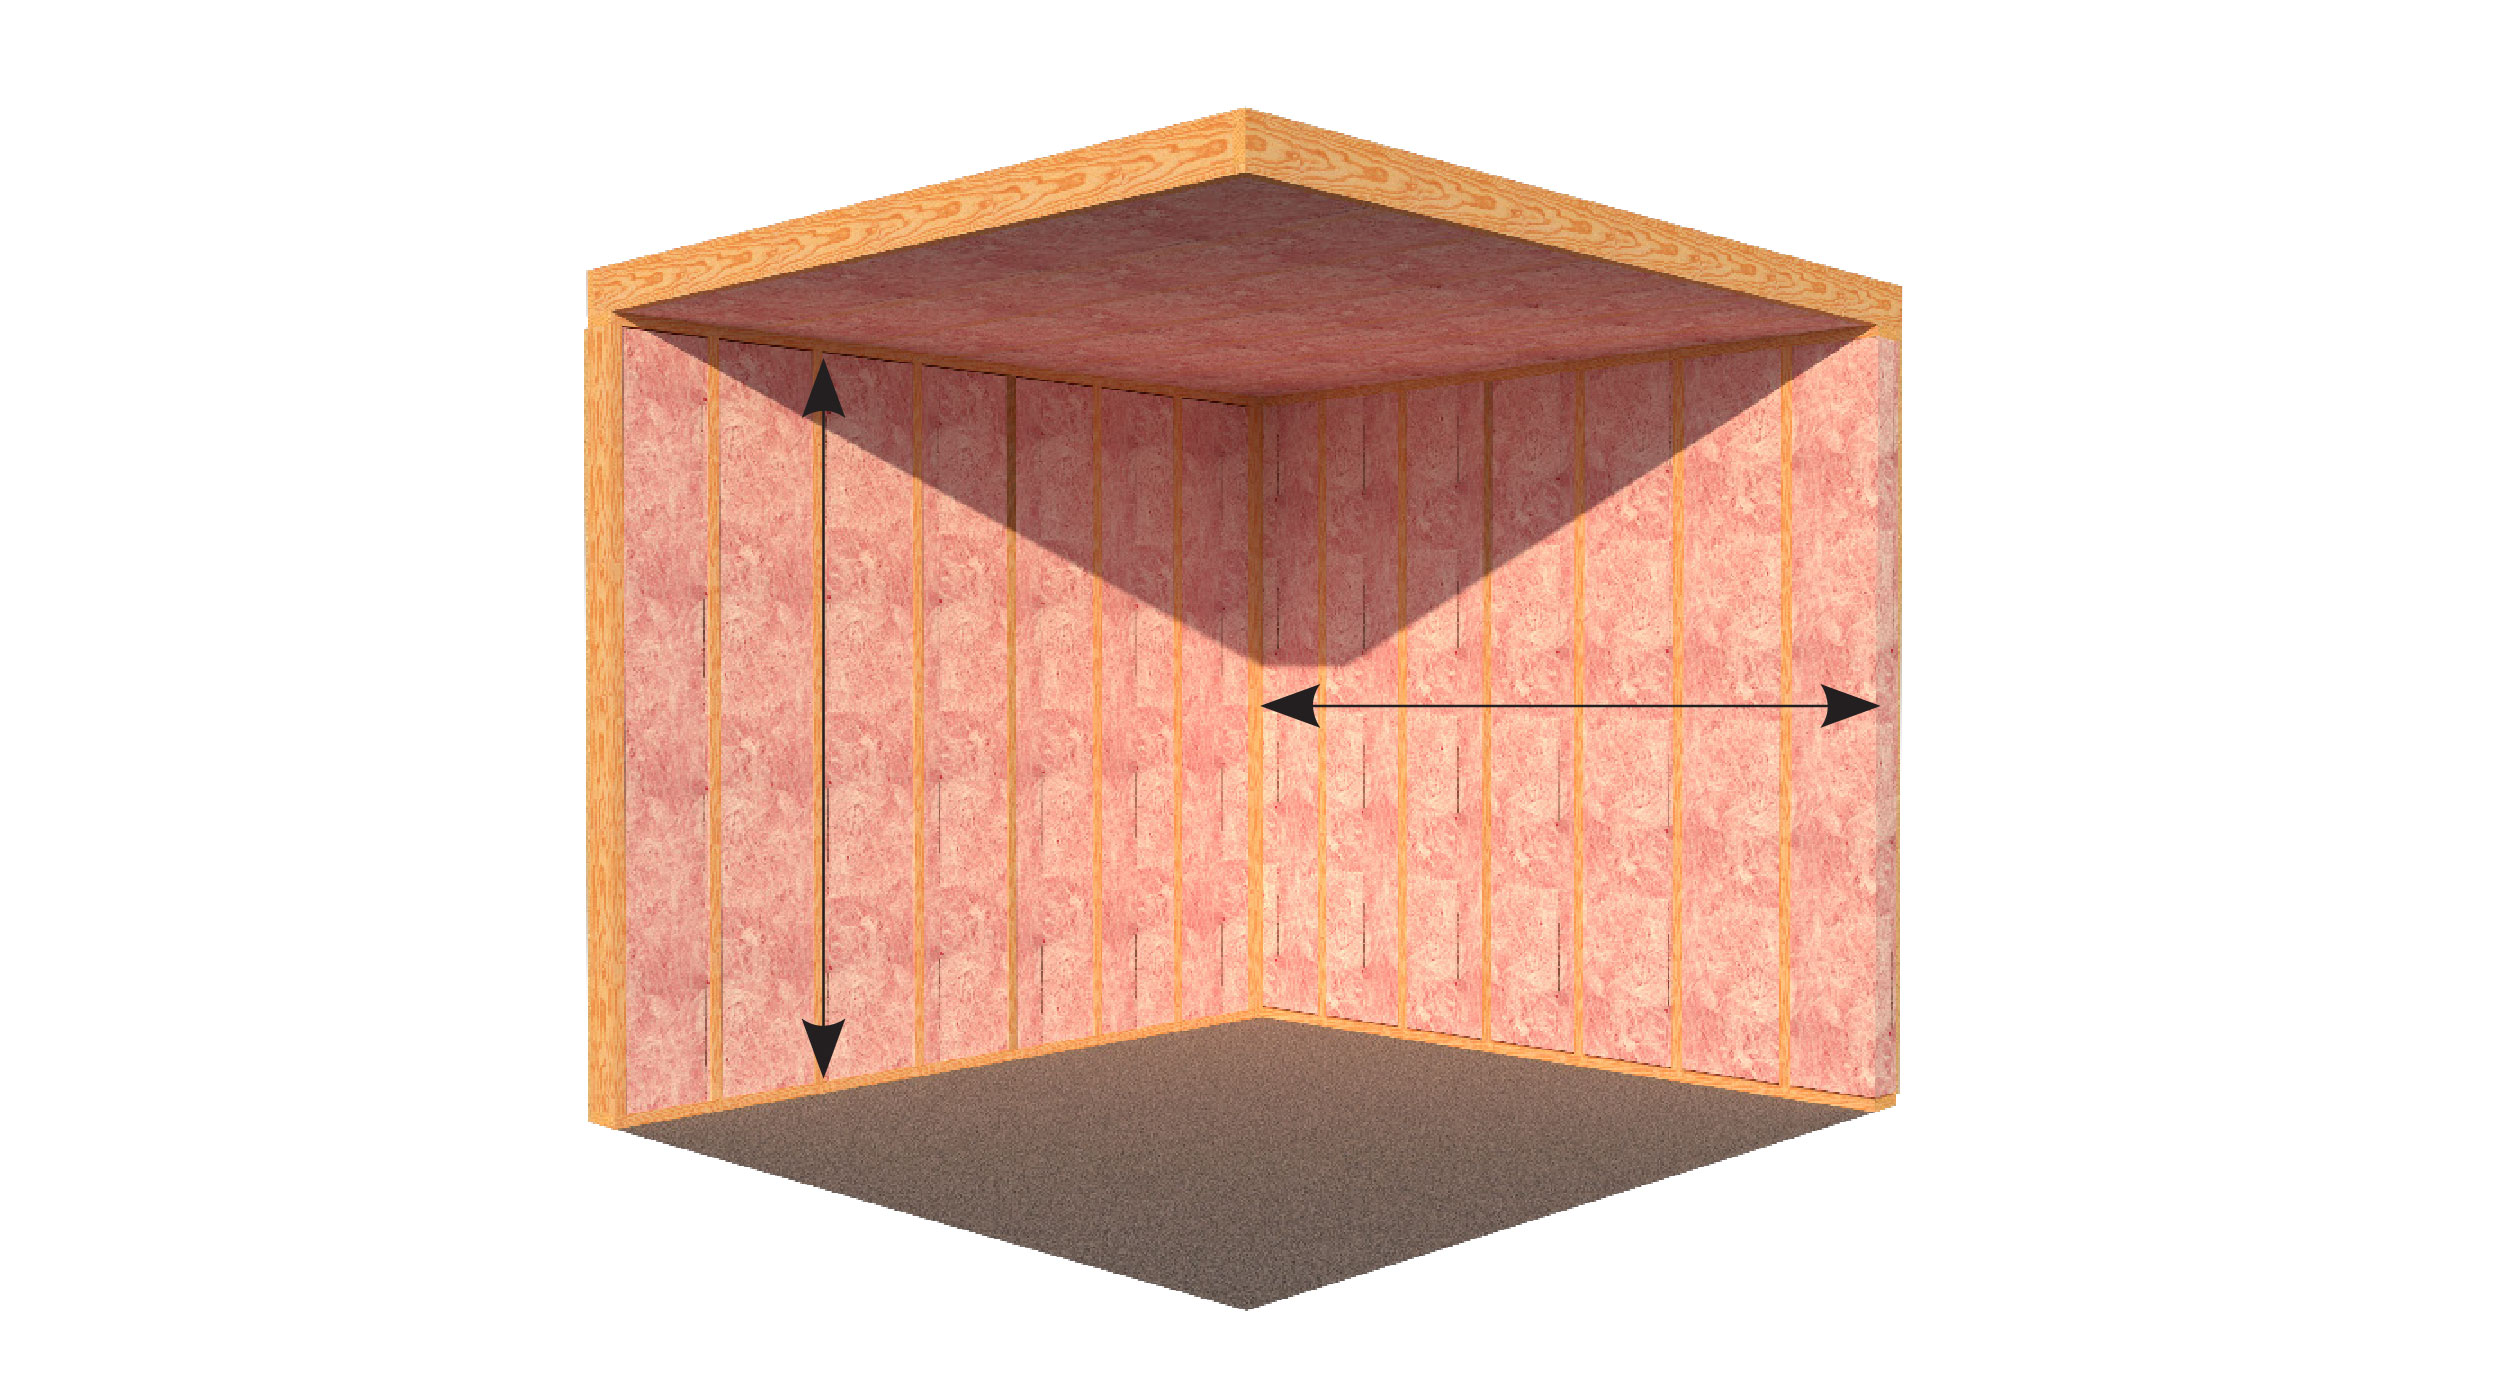
| Step 3: Positioning Based on framing and wall height determine horizontal or vertical installation. |
Step 4: Measure and Cut Membrane Keep sheets flat and tension-free—do not excessively stretch the membrane. |
 |
5. Attachment |
 |
 |
|
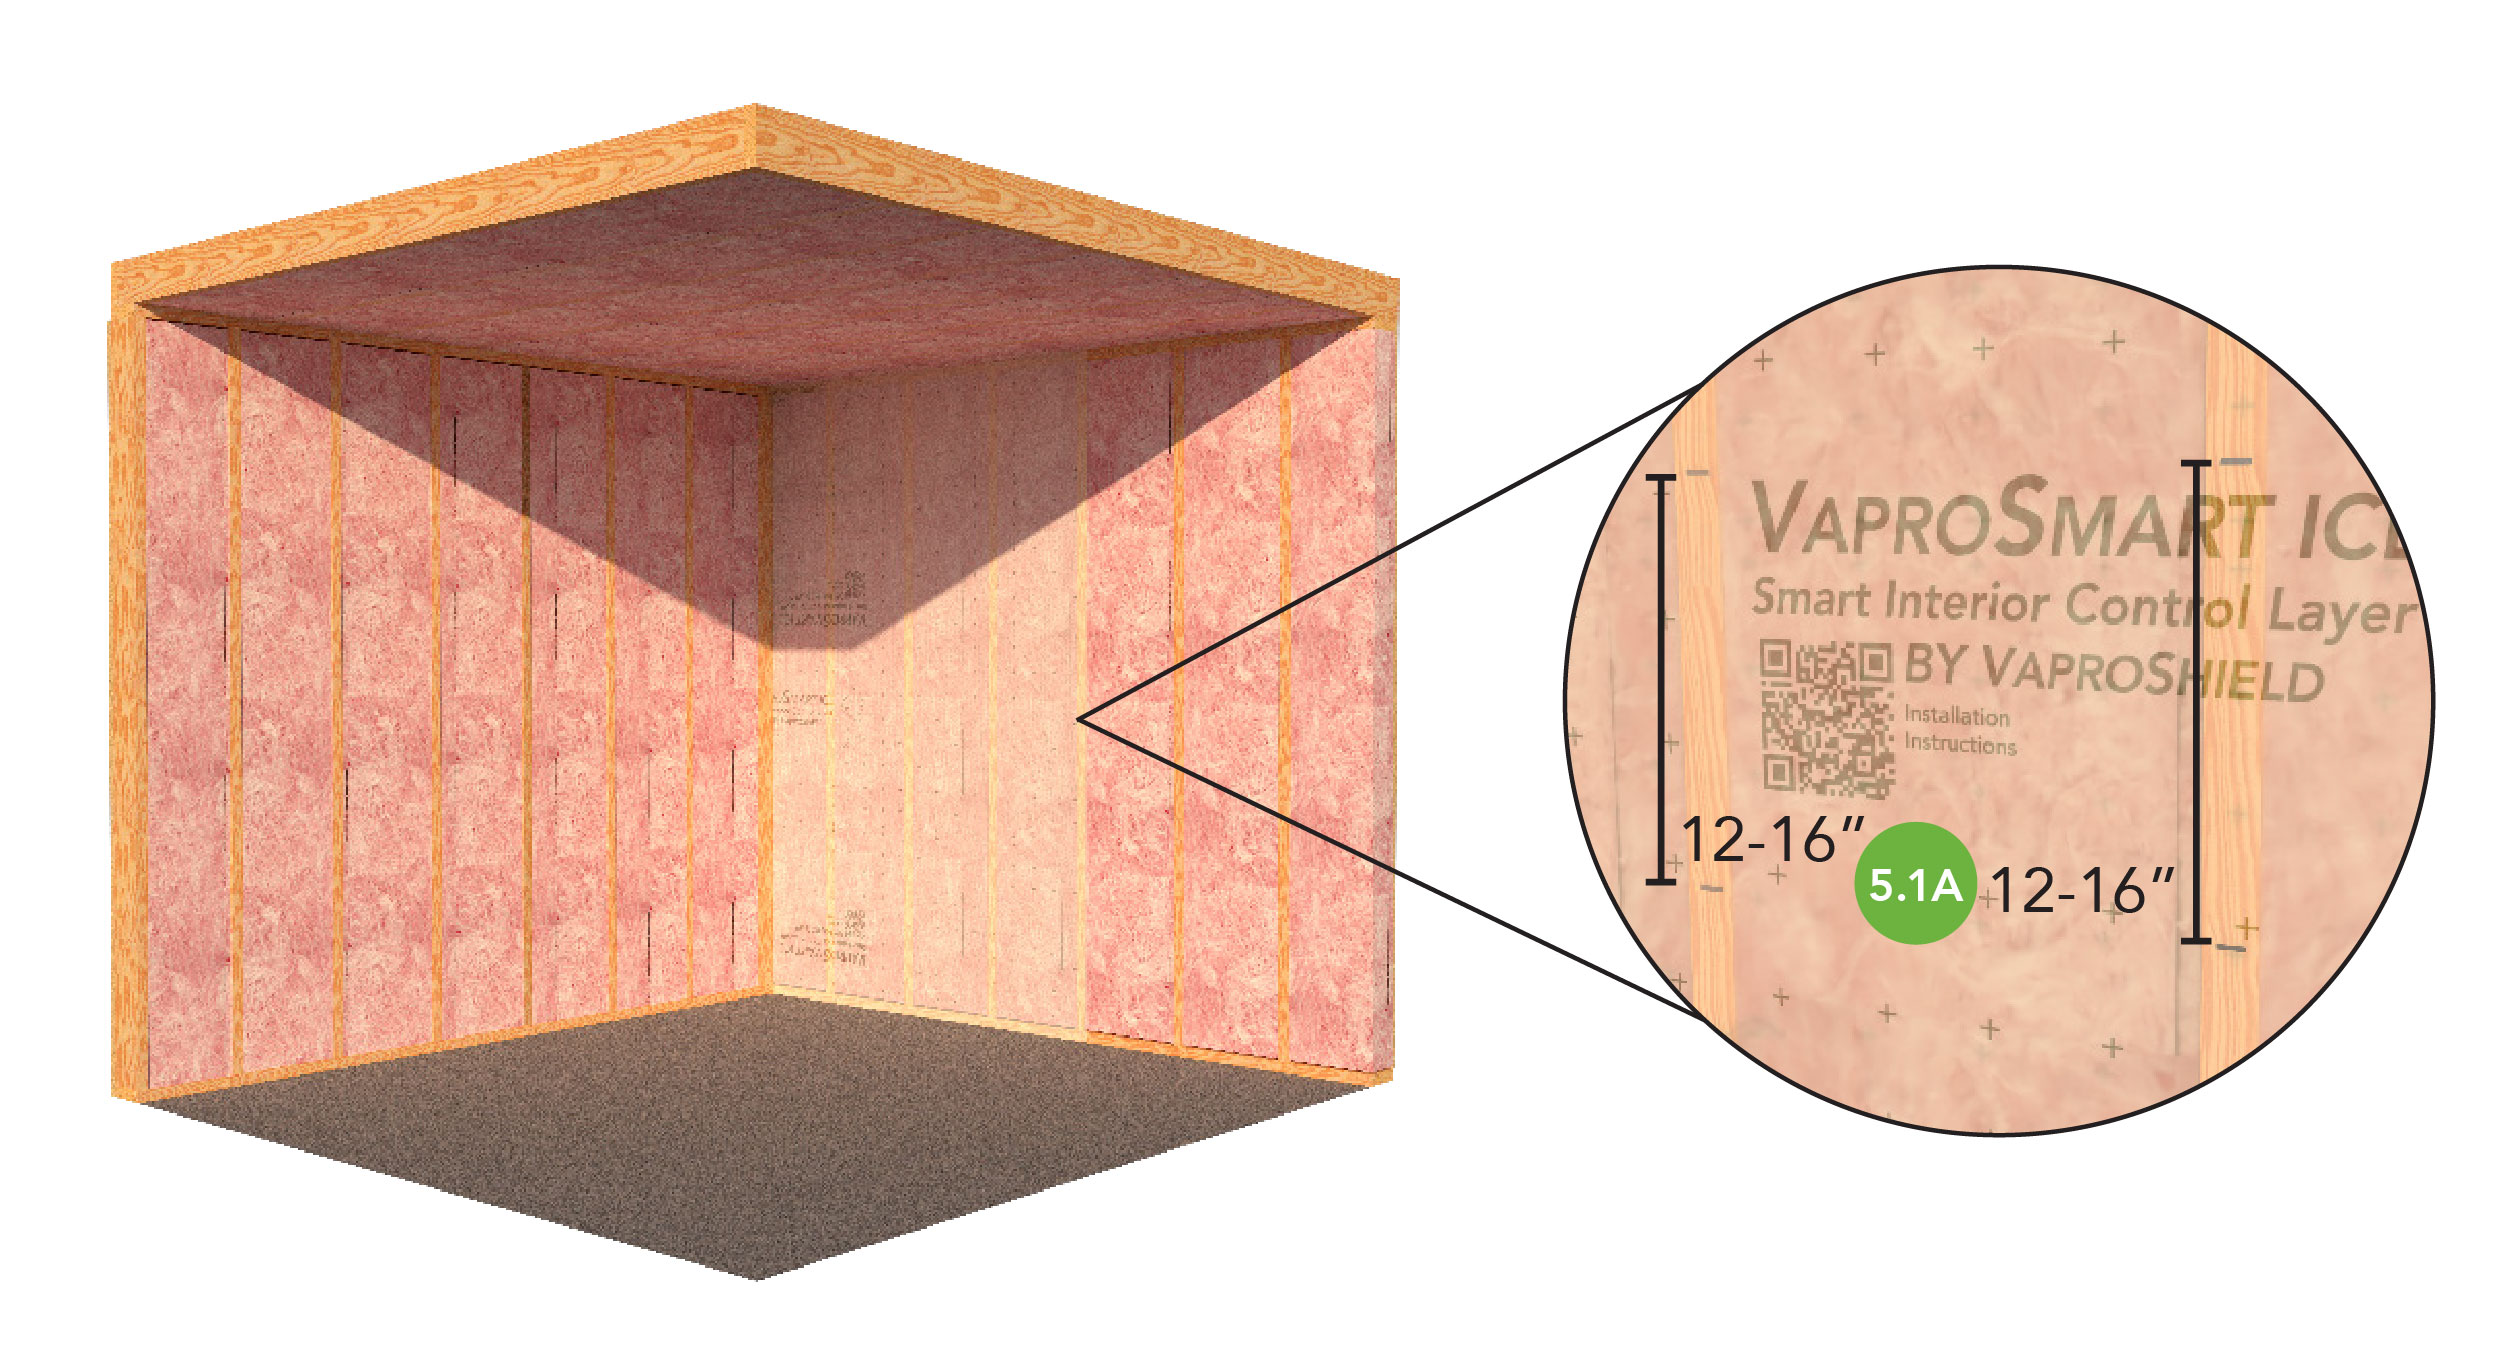
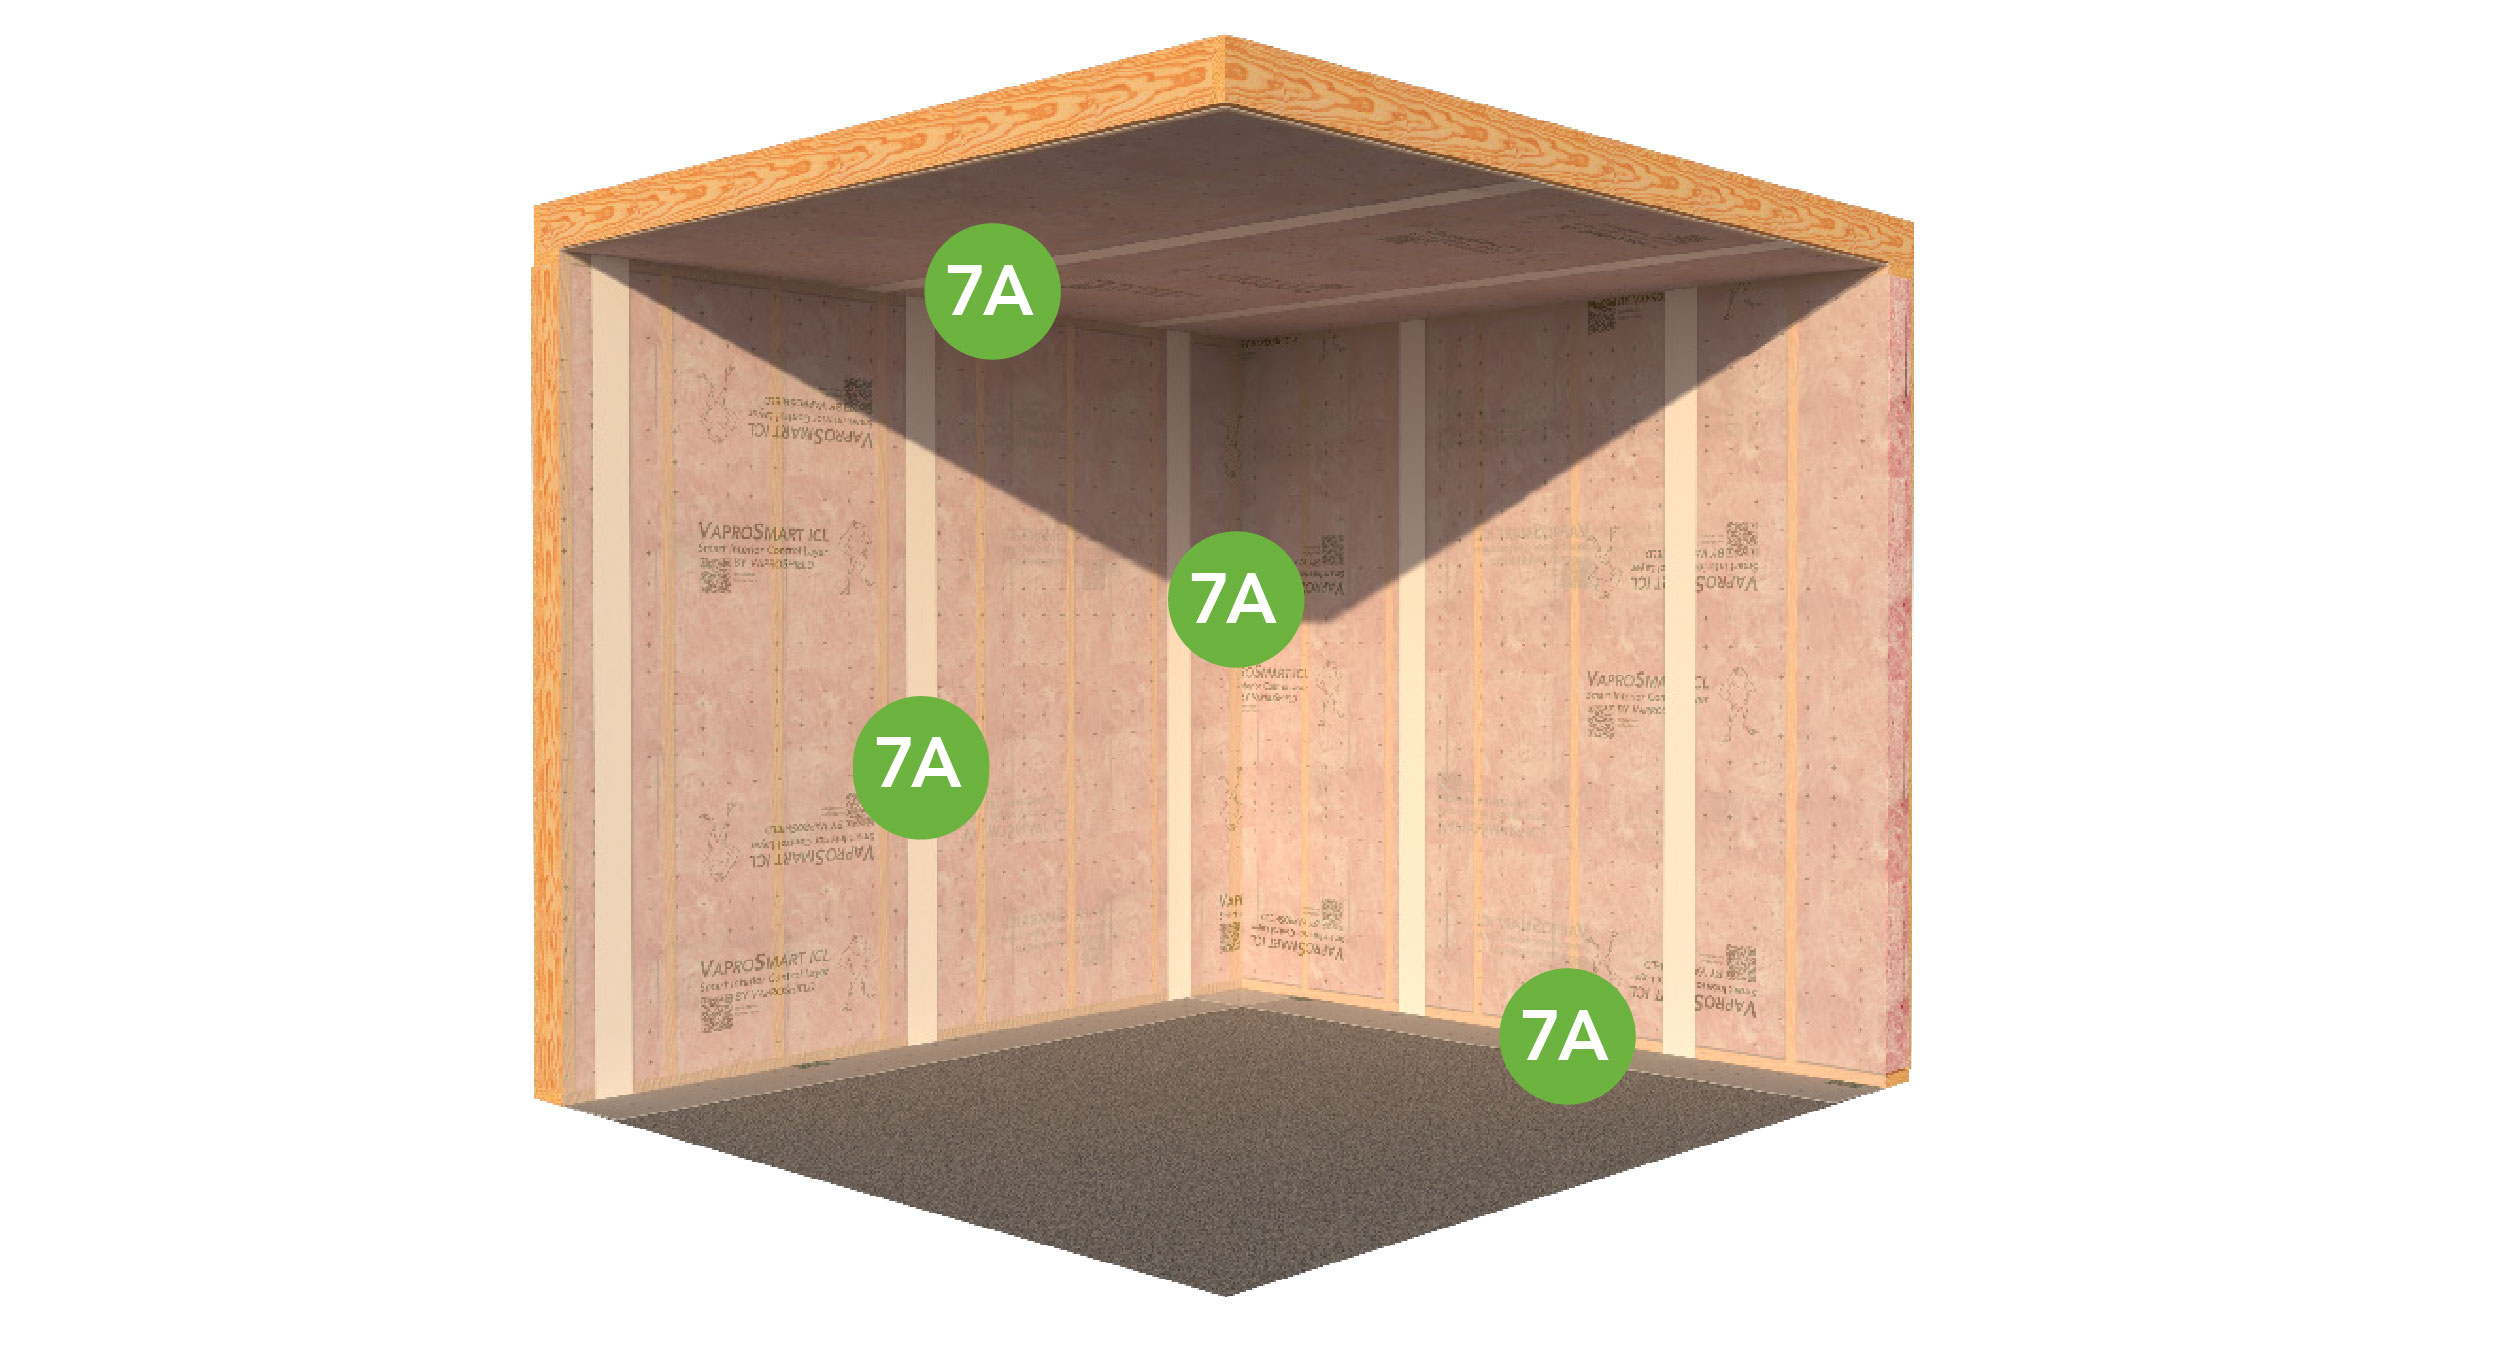
Step 5.1: Wood Frame Attachment 5.1A Fastener spacing: 12–16” (31-41 cm) on center, ideally within overlap areas. Align the membrane with framing and maintain smooth, wrinkle-free placement. |
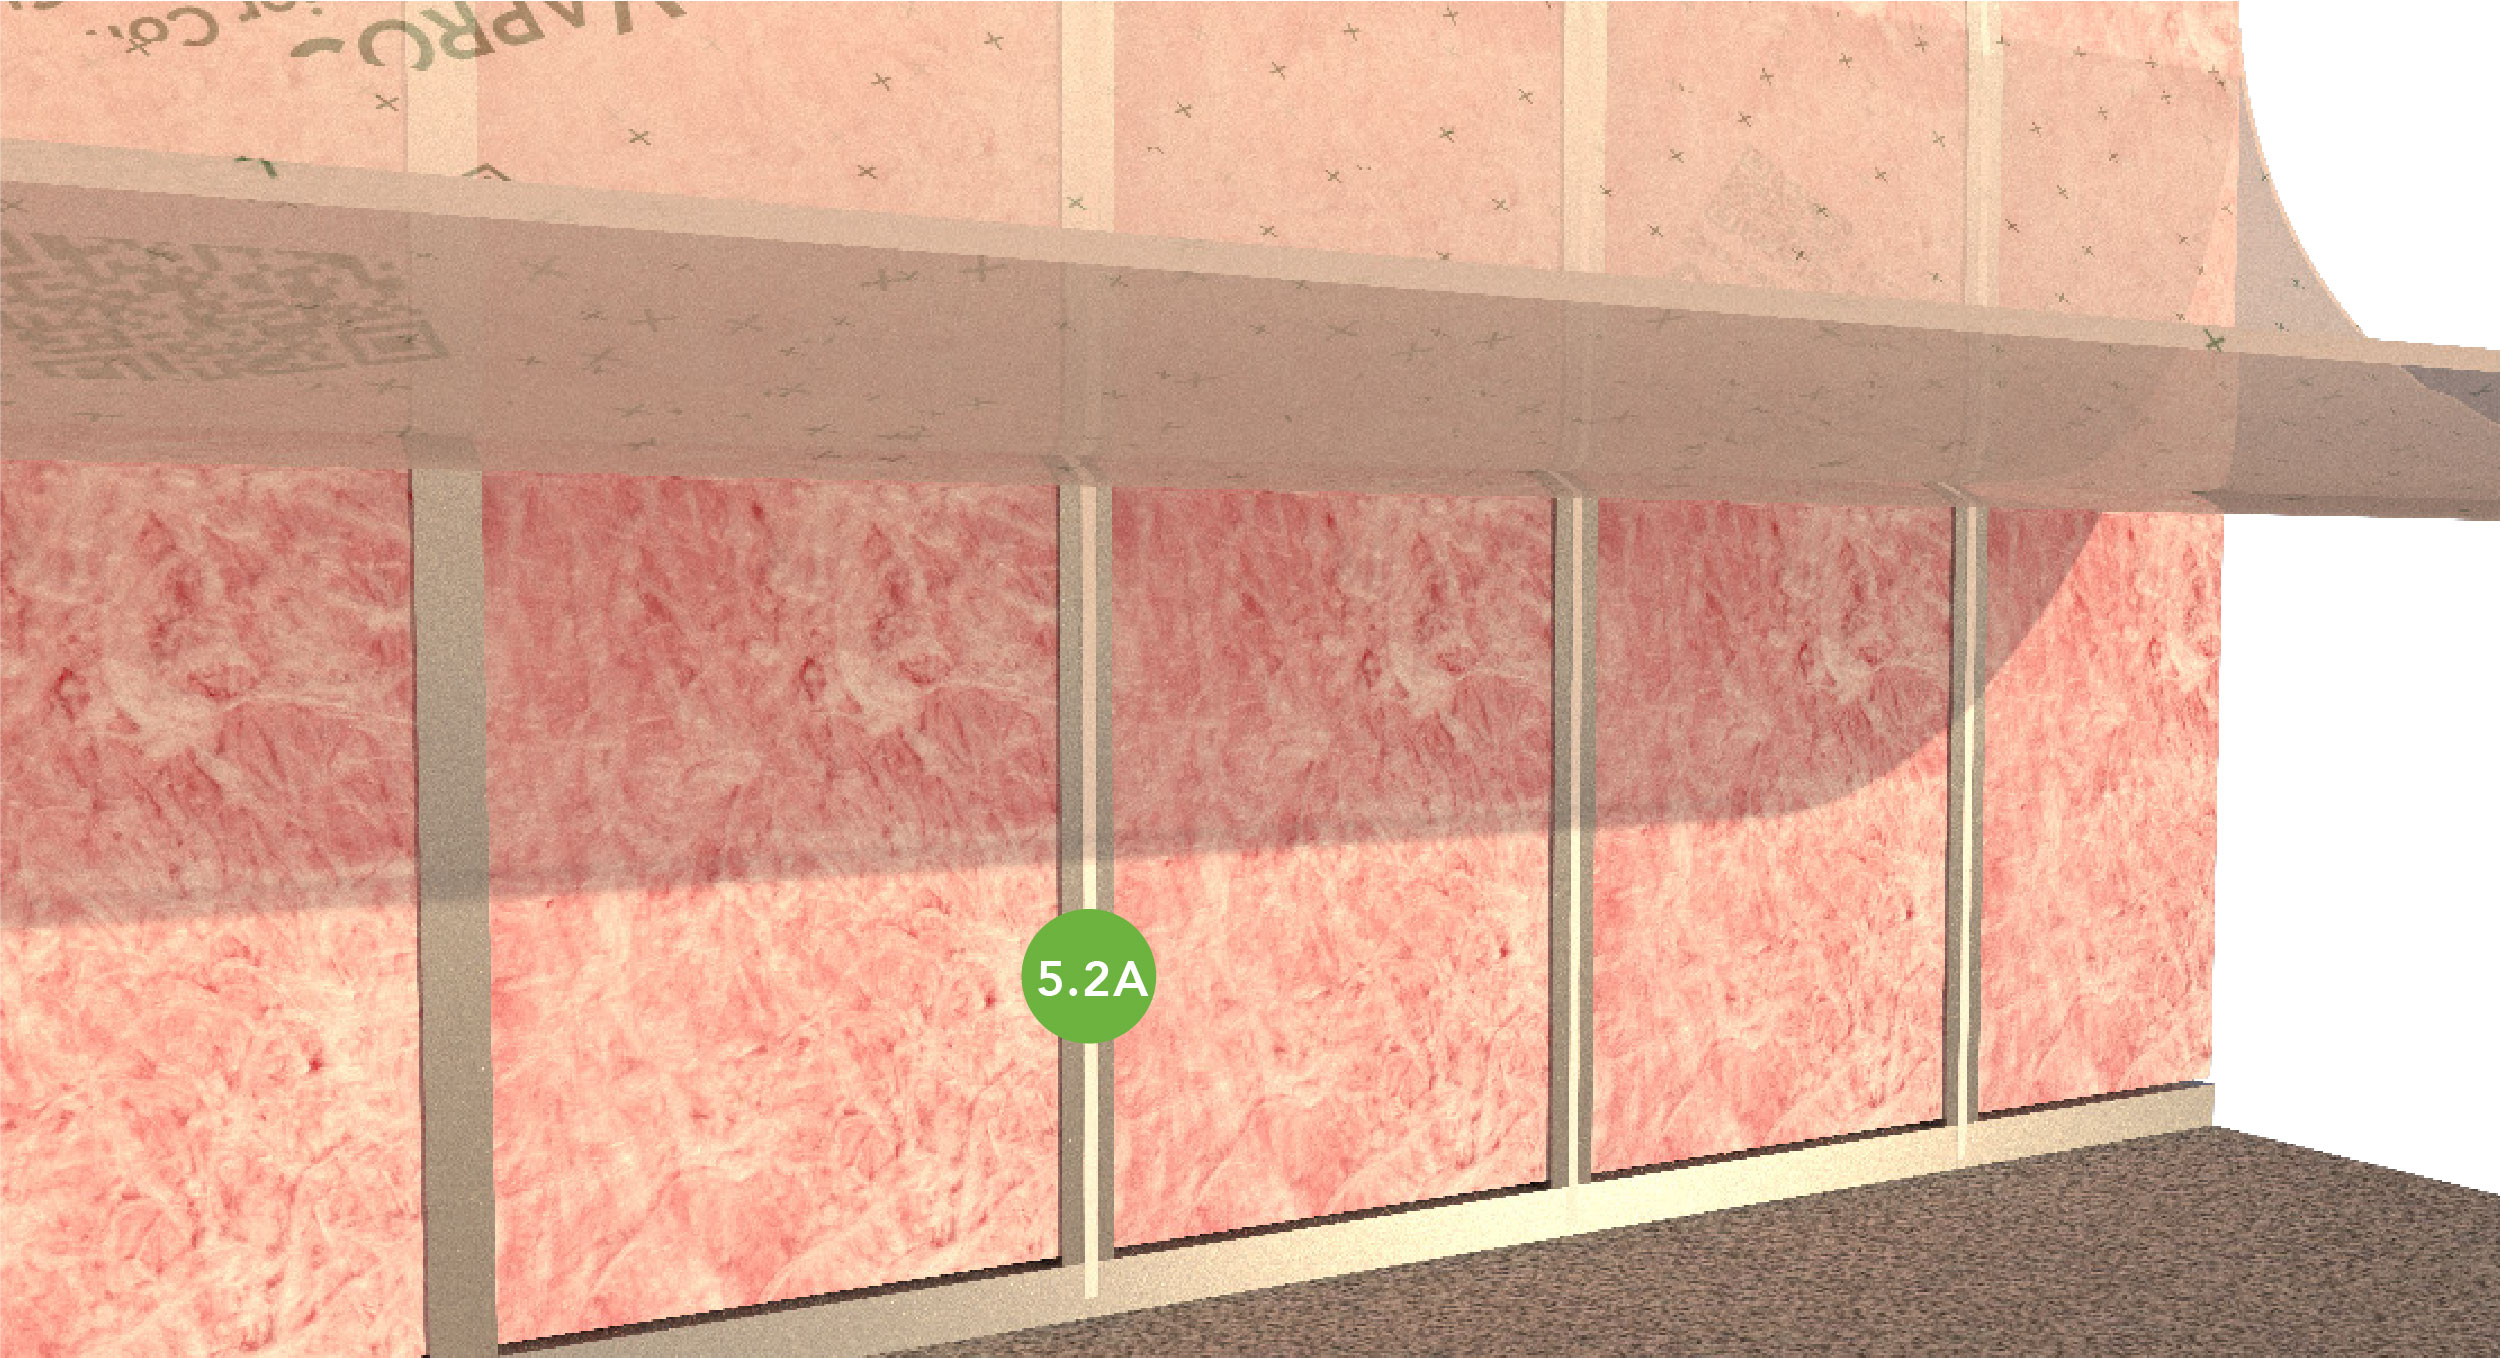
Step 5.2: Metal Framing Attachment Secure VaproSmart to metal framing using one of the following methods:
Press the membrane firmly onto the framing to ensure continuous, smooth contact with the frame surface. Hand pressure is acceptable when using approved attachment methods; however, pressure rolling is recommended when practical to promote consistent adhesion. Align the membrane with framing and maintain smooth, wrinkle-free placement. |
|
|
|
|
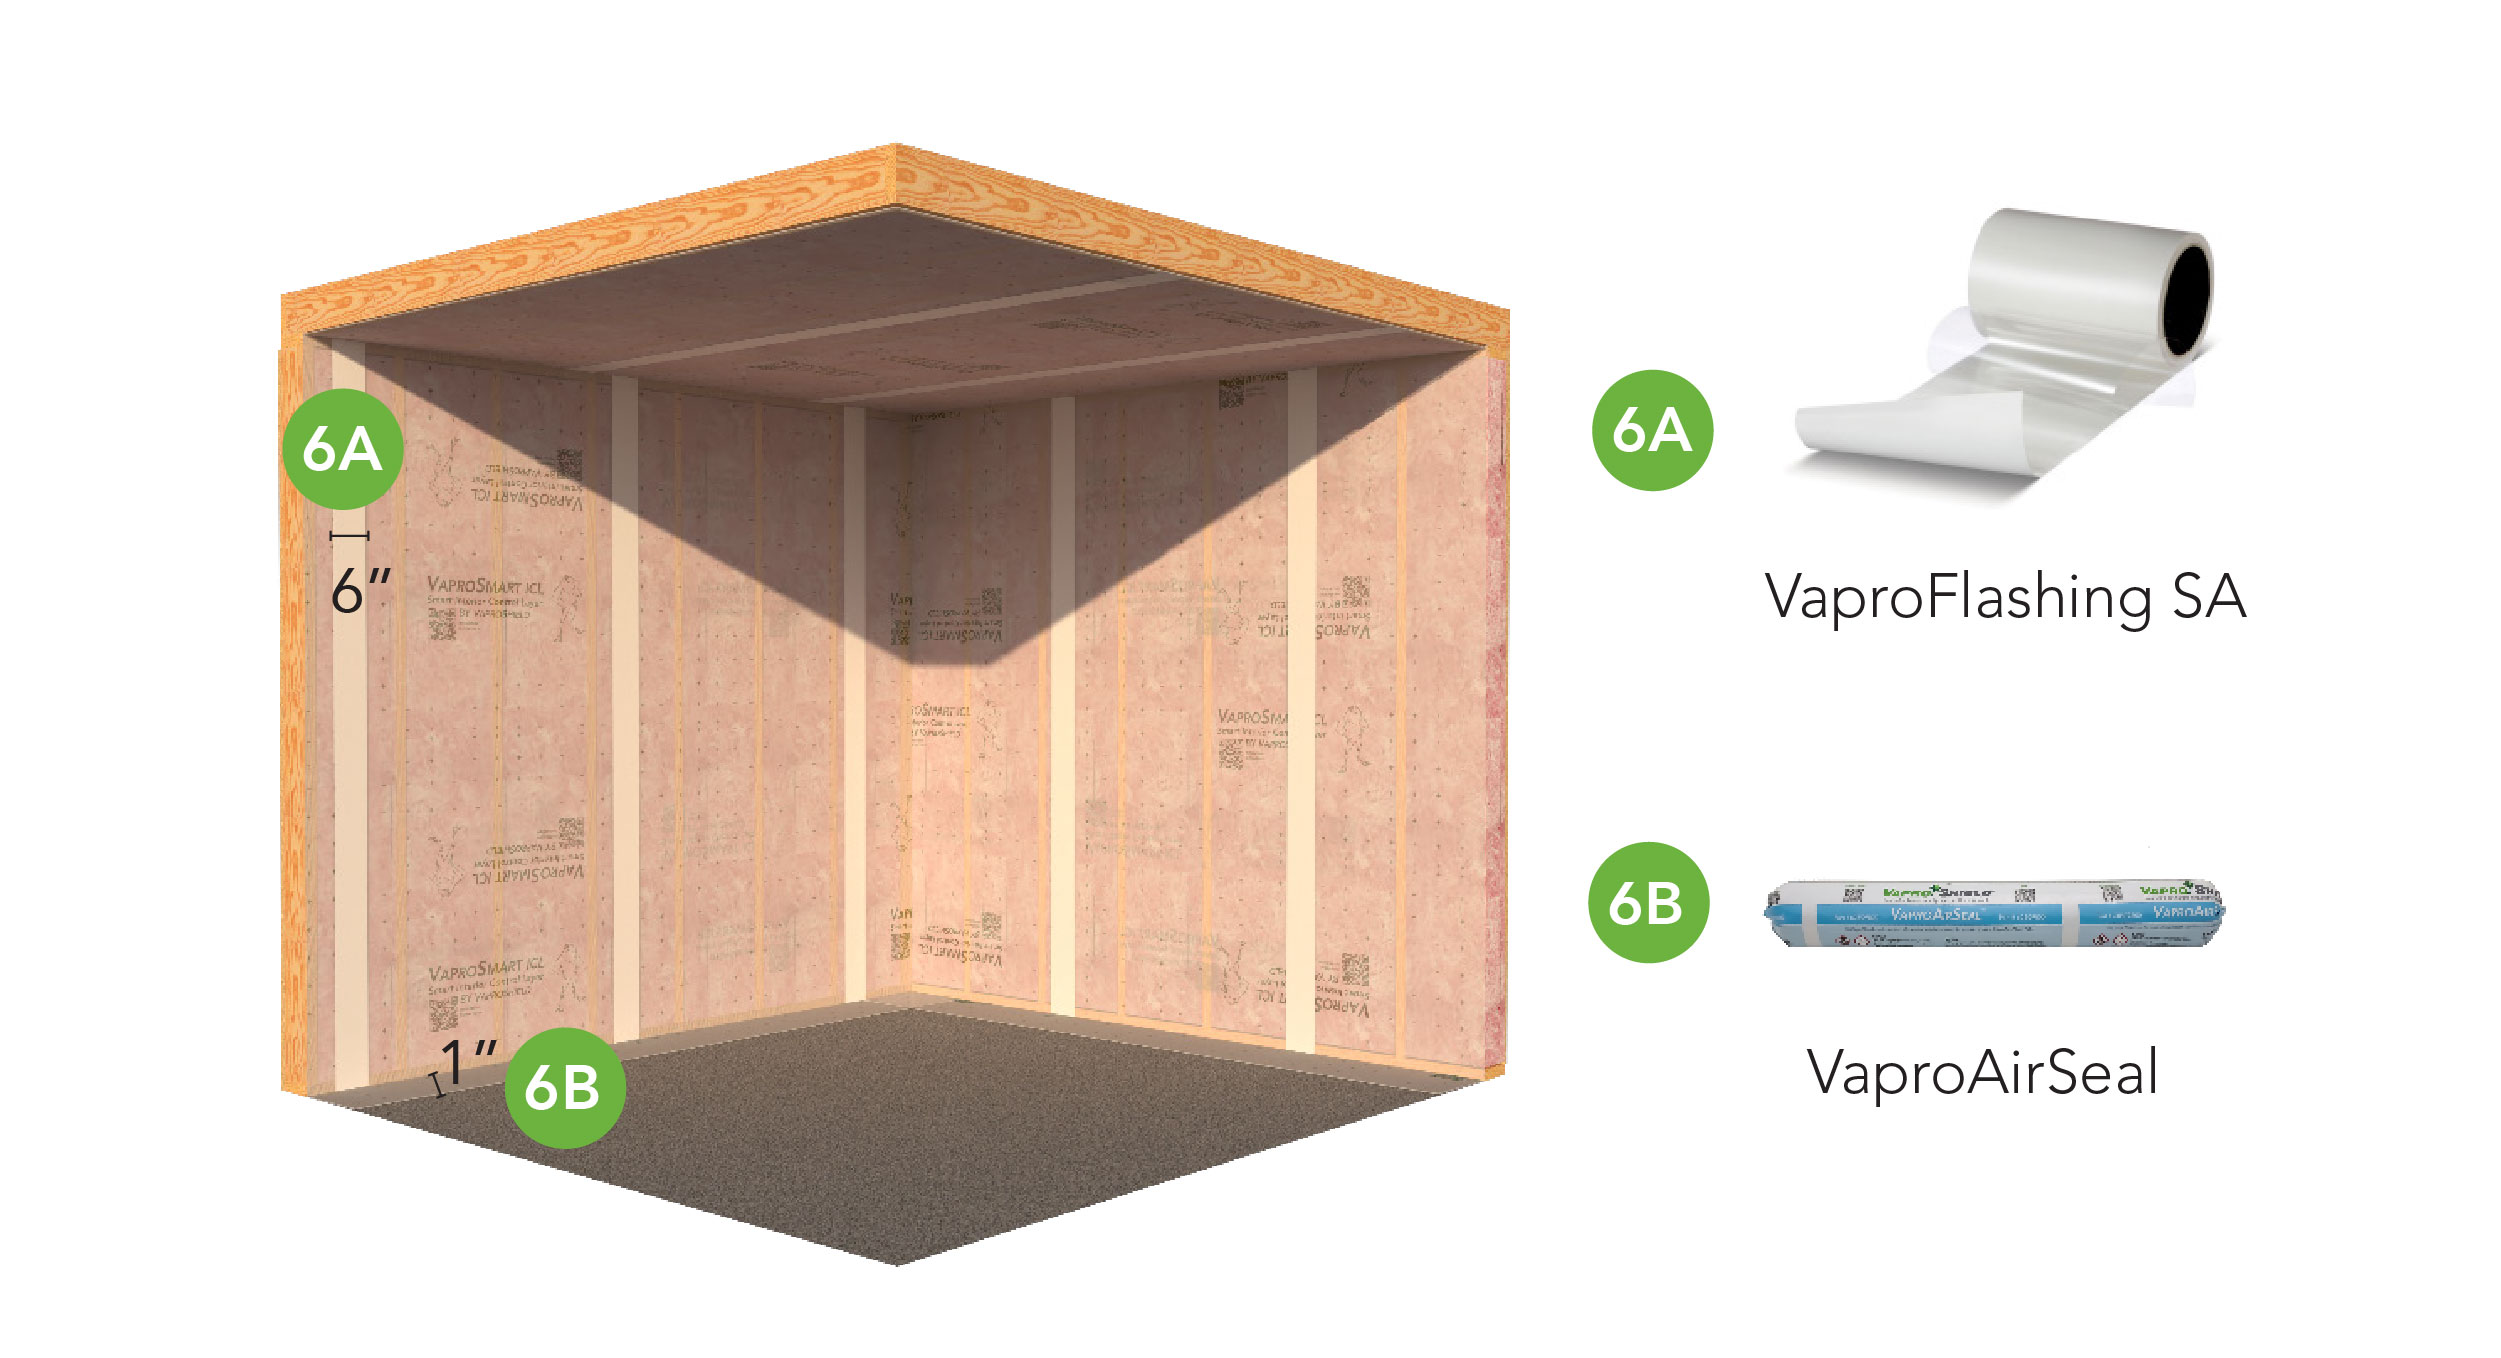
Step 6: Overlaps and Seam Taping 6A. Overlap adjoining sheets by a min. of 3” (7.6 cm) on horizontal and/or vertical seams.
6B. Seal base overlap with VaproAirSeal or specified non-curing acoustic sealant. Press firmly to ensure adhesion. |
Step 7: Final Inspection Repair any gaps, punctures, or unsealed areas using membrane patches and tape. Optional: perform air leakage testing to verify air barrier continuity prior to drywall installation. |

Penetrations and Rough Openings
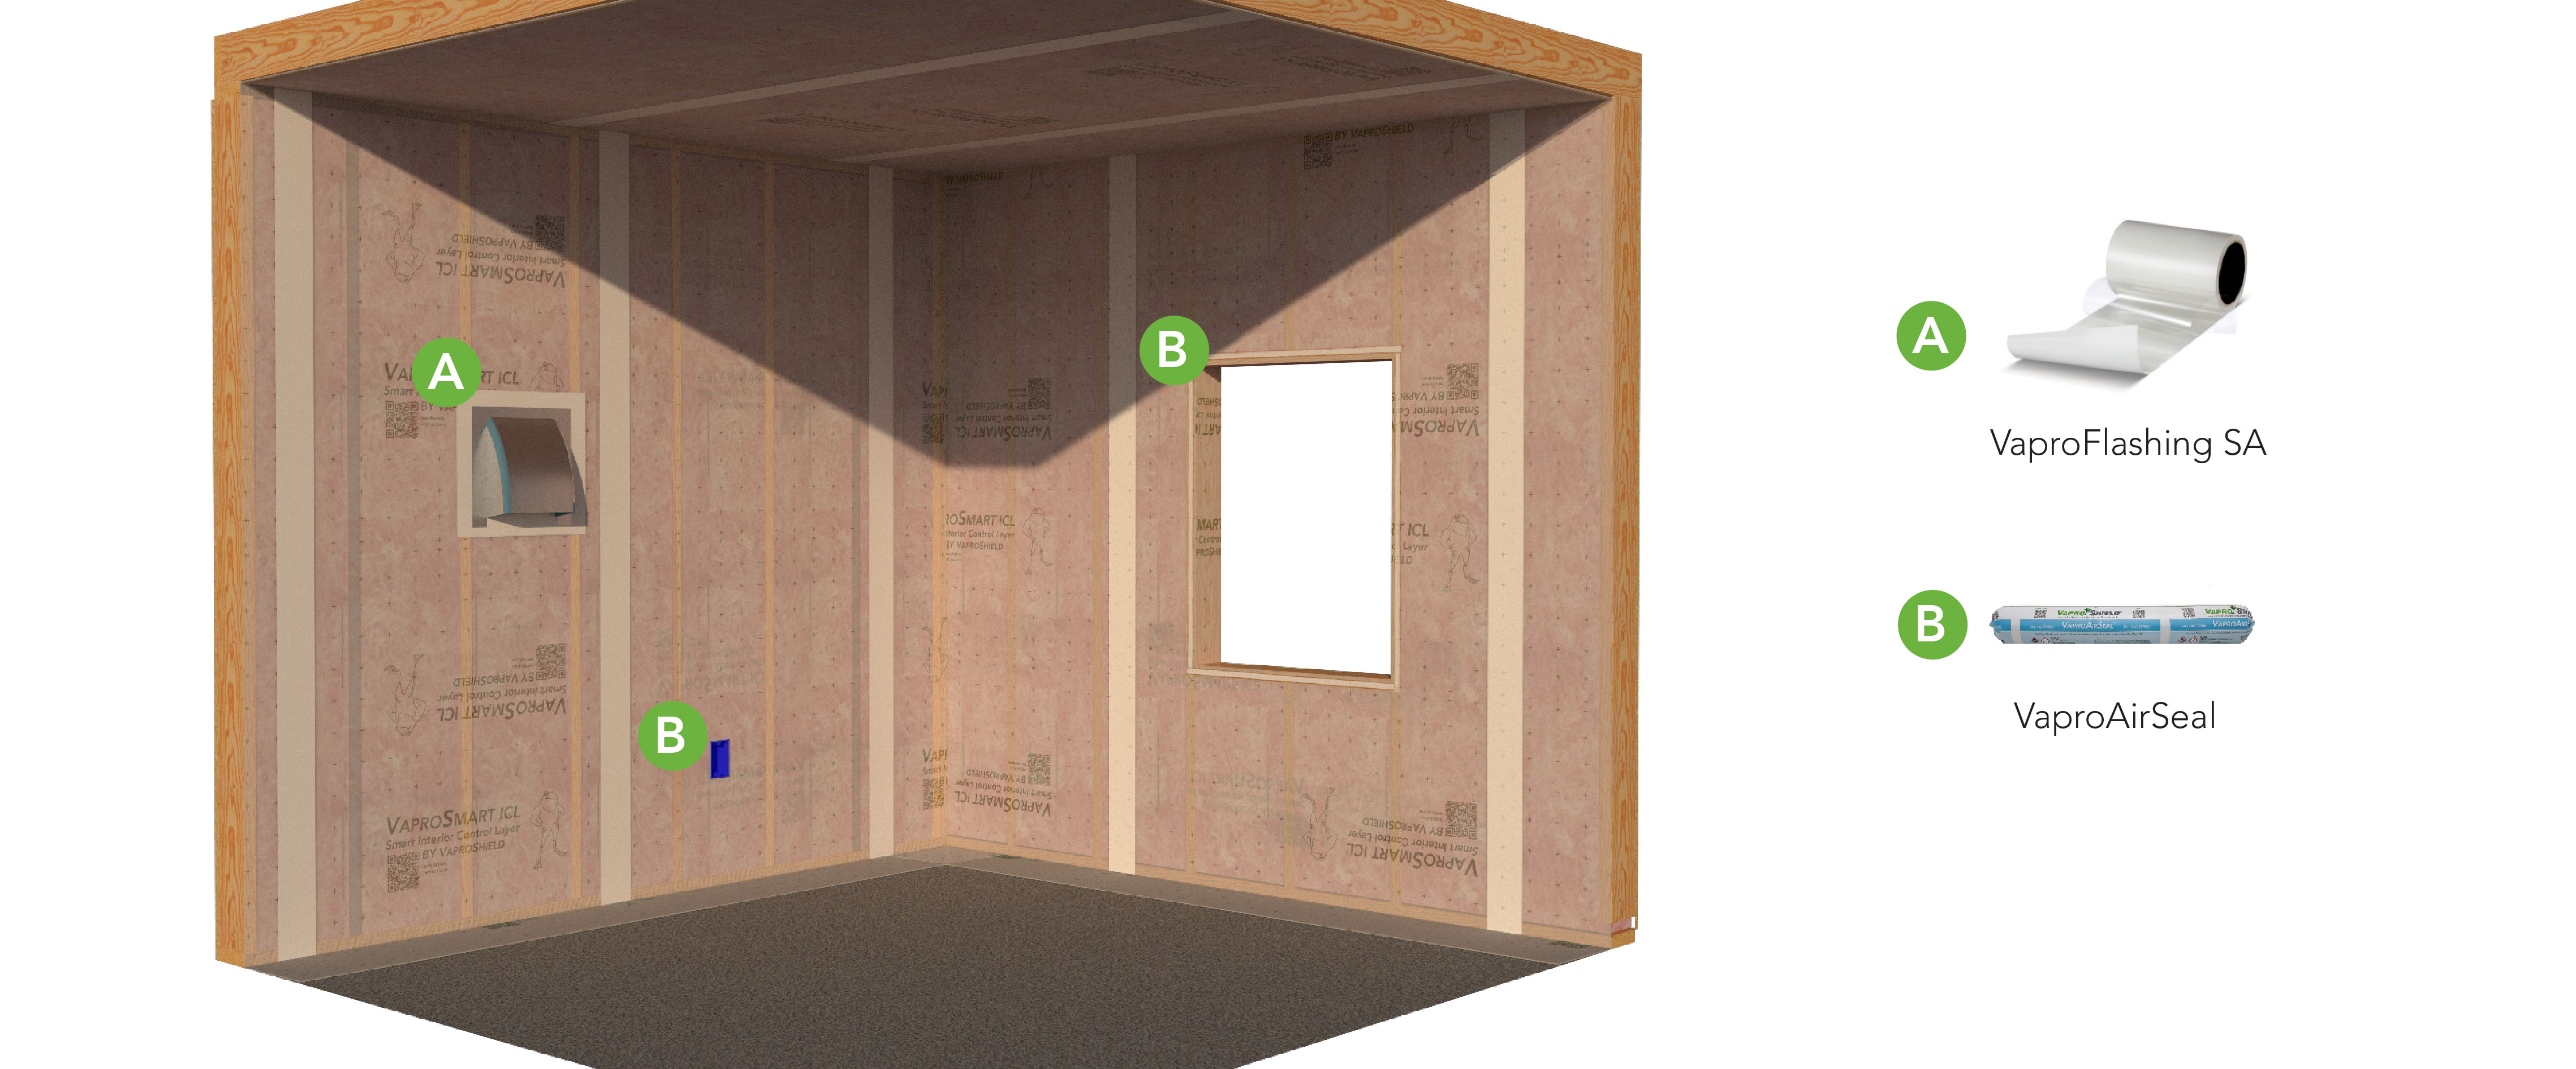
A. Large penetrations or openings: patch with membrane offcuts, overlap at least 3”, (7.6 cm) and seal with VaproFlashing SA or approved sheathing tape.
B. Small penetrations (electrical boxes, conduit, pipes): cut membrane carefully and seal with VaproAirSeal, non-curing acoustic sealant, or sheathing tape.
C. Windows, doors, and rough openings: fold membrane into opening, secure with fasteners, and seal perimeter with VaproAirSeal.
Service Cavity and Insulation Coordination
If installing a service cavity or loose-fill insulation, ensure the membrane is supported and remains flat.
Avoid punctures or tearing when trades access the wall cavity.